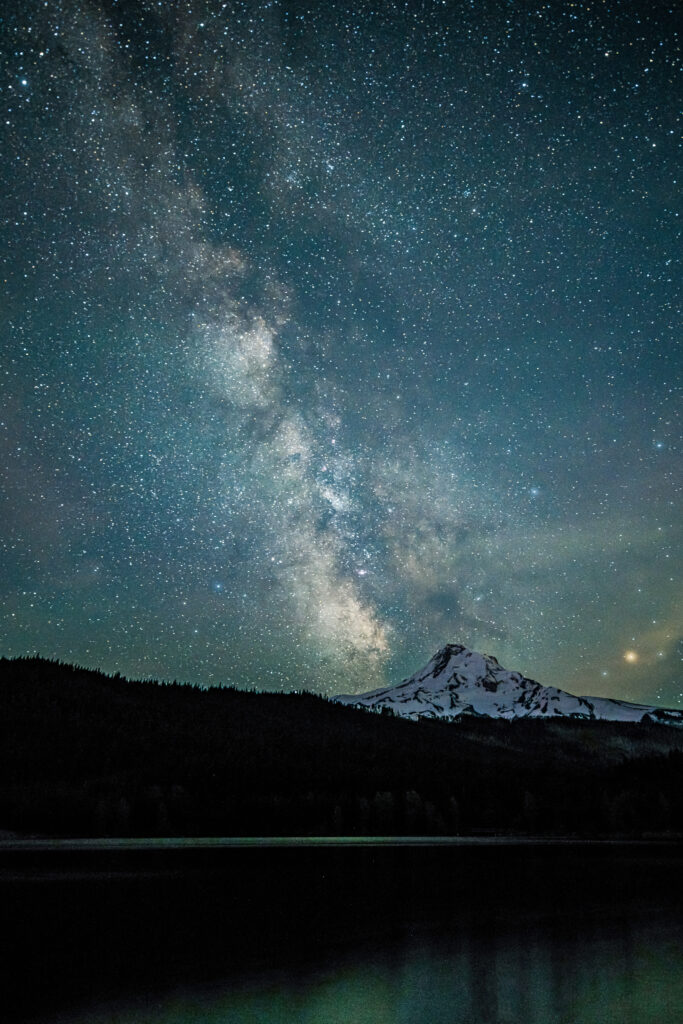
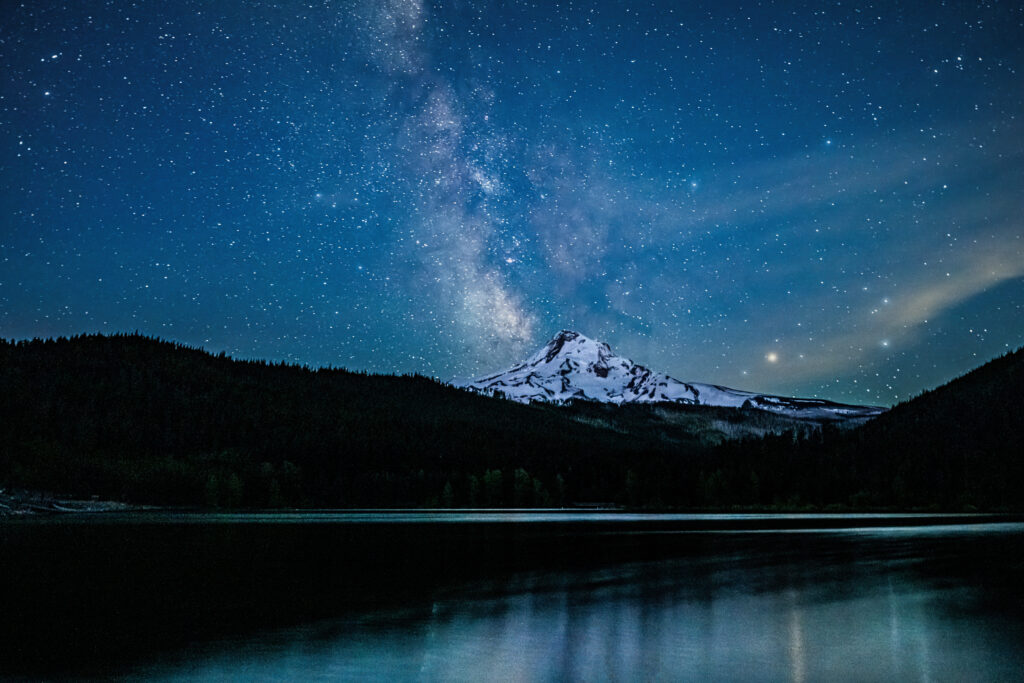
On May 28th I tried my second attempt at Milky Way photography. I took these pictures of Mt. Hood from Laurence Lake.
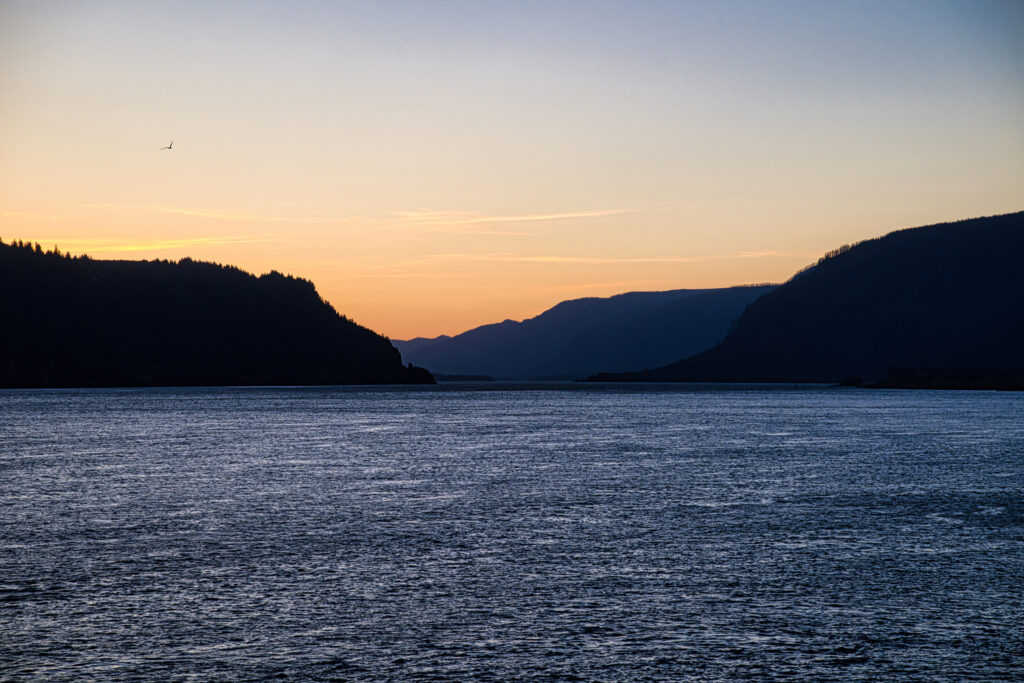
Here’s a bonus picture that I took of the Columbia River.
If you are curious how to take such a photo, read on.
Preparation
The hardest part of photographing the Milky Way is preparation. Apart from the equipment, you need three things:
- A night on which the Milky Way is visible.
- A dark sky, ideally 1 – 3 on the Bortle scale (1’s are very rare).
- Something dramatic in the foreground.
Choosing the night
This Milky Way chart that I downloaded from https://capturetheatlas.com/ showed that I had a good window between May 24 and May 31.
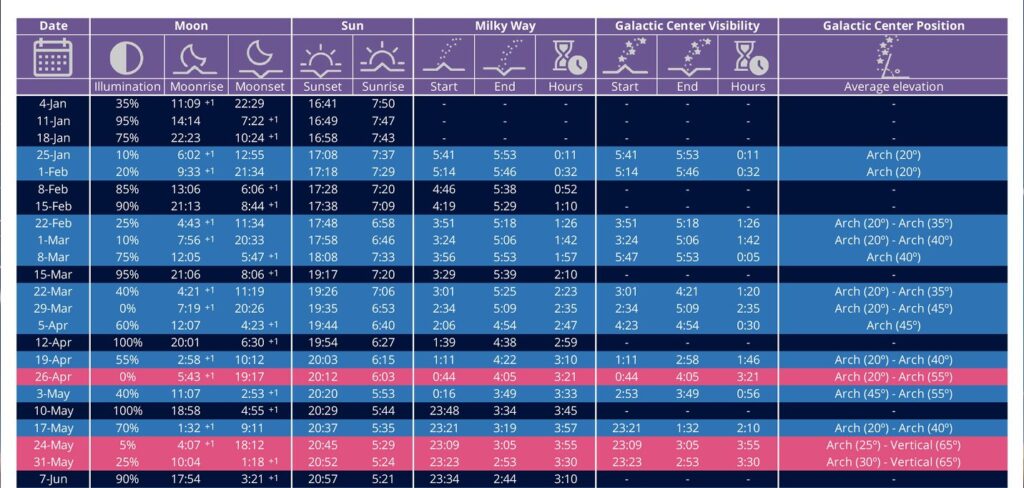
The weather report showed clear skies on May 28th, so I chose that night.
Choosing the location
Washington state has many dramatic things to photograph in the foreground, but not as many dark skies as you would think.
- Palouse Falls is a common spot (Bortle class 2), but my BIL wanted to go with me to shoot there and he couldn’t at that time (so I’m saving it for a future trip).
- There are many great places along the North Cascades Highway (Bortle class 2), but the highway was closed in May.
- There were some great places around Mt. Raineer, but the roads were all closed.
- The observatory at Mt. Saint Helens would have been perfect, but that road is closed due to a landslide.
- There is an observatory in Goldendale (Bortle class 3), but there isn’t anything dramatic for the foreground.
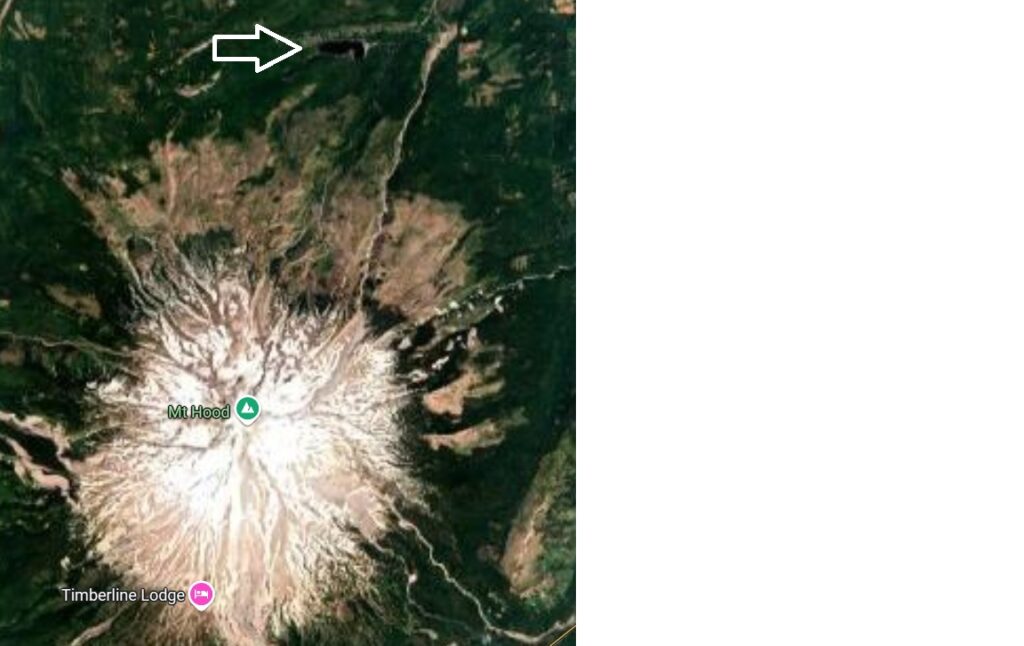
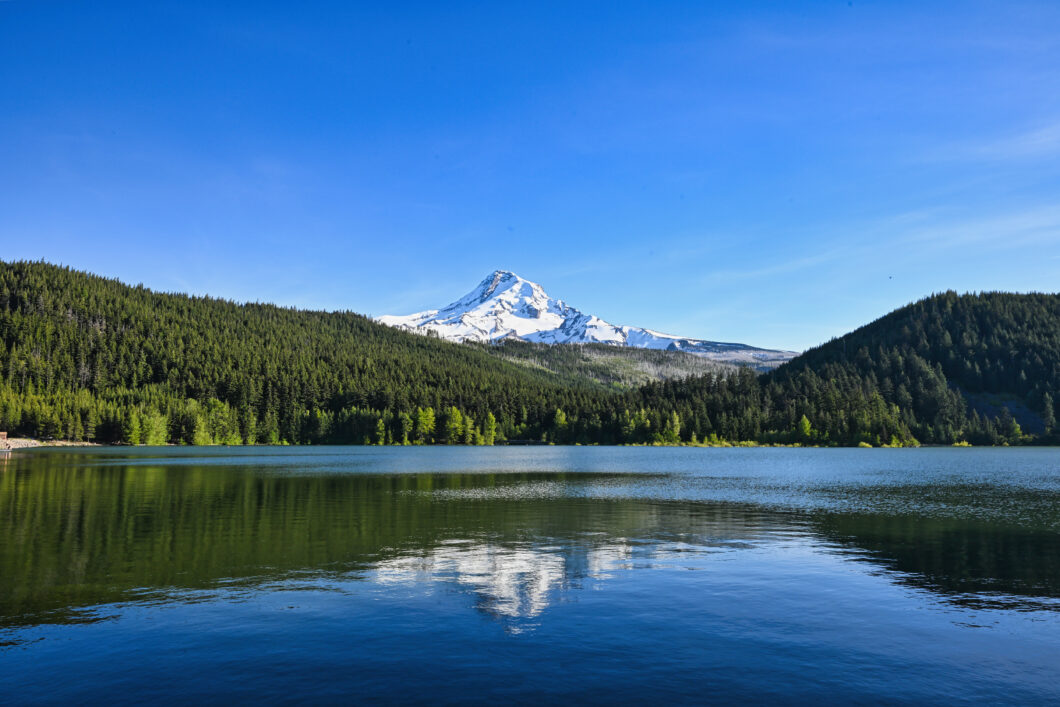
Looking around on Google maps, I found this lake near Mt. Hood that looked promising.
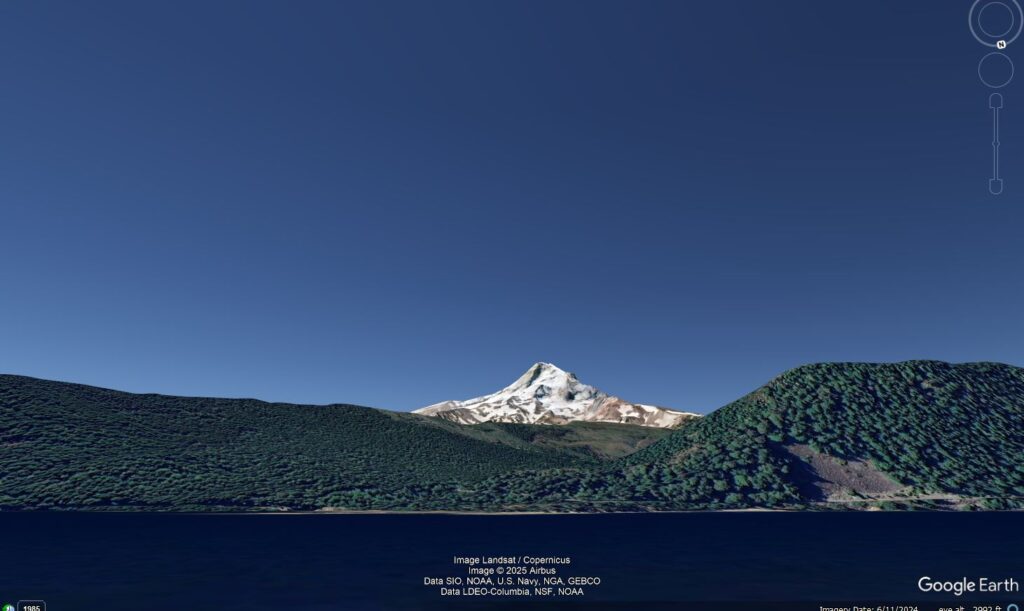
According to the desktop version of Google Earth, the view from this lake looks like this:
And on the night of May 28th at 3:00am, it will look like this:
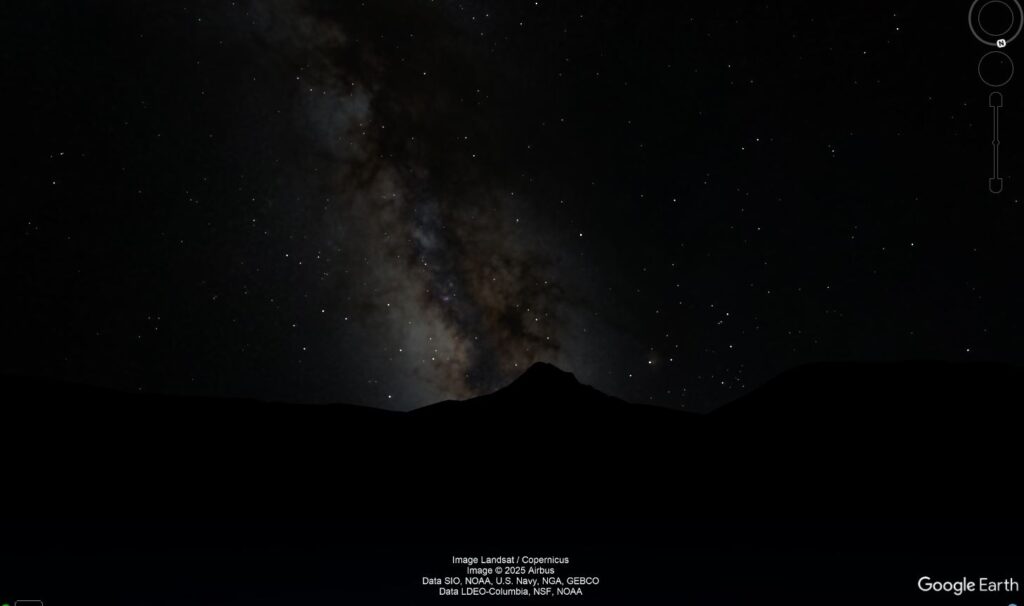
It is only Bortle class 3, but it’s still way better than the Tucson location from my previous shoot (Bortle class 5).
Shooting the shot
The two most important pieces of equipment are:
- A fast wide angle lense with a 2.8 (or lower) aperture (which I had very recently purchased).
- A sturdy tripod.
I arrived at Laurence Lake around 6pm and scouted the area. I verified that Google Earth simulation was very accurate. The lake has an earth dam on the East side that you can easily walk across.
I waited in my car until 2:30am, at which time I hiked to the other side of the lake and setup. I’ll admit that it was a little weird hanging out by myself in the dark. The above pictures make it appear pretty light, but it was not – the Milky Way wasn’t nearly as visible as in the photos (which were taken using a 20 second exposure).
The first thing you do is to pick a bright star, focus on it, and take a few test shots to verify that it’s in focus. I then spent an hour taking pictures, playing with different exposures and ISO settings. The best pictures used a 20 second exposure with ISO 4000. I used my Nikon Z8.
The one thing I wasn’t expecting was that the sky started brightening around 3:30am
Post production
The raw images were surprisingly dark (even with a 20 second exposure).
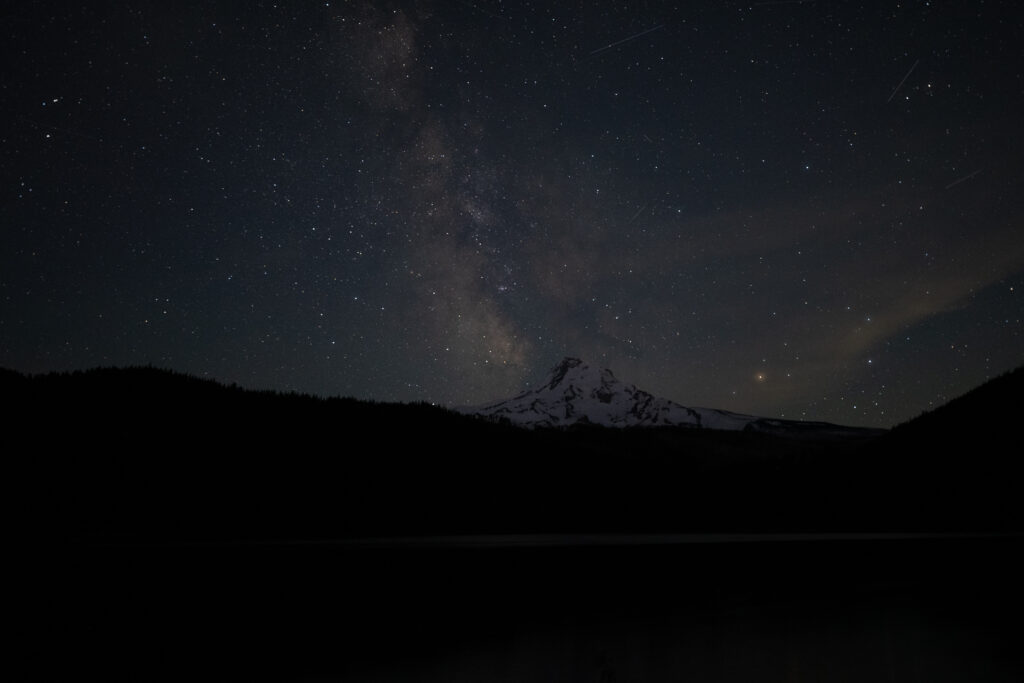
Obviously some post-production work is needed to lighten them up. If you use the cloud version of Lightroom, it will suggest various presets that other people used on similar photos.
You will also need to remove a bunch of satellite and meteor trails (they aren’t normally visible, but you see them in the photo).

Wiii scouting for locations